
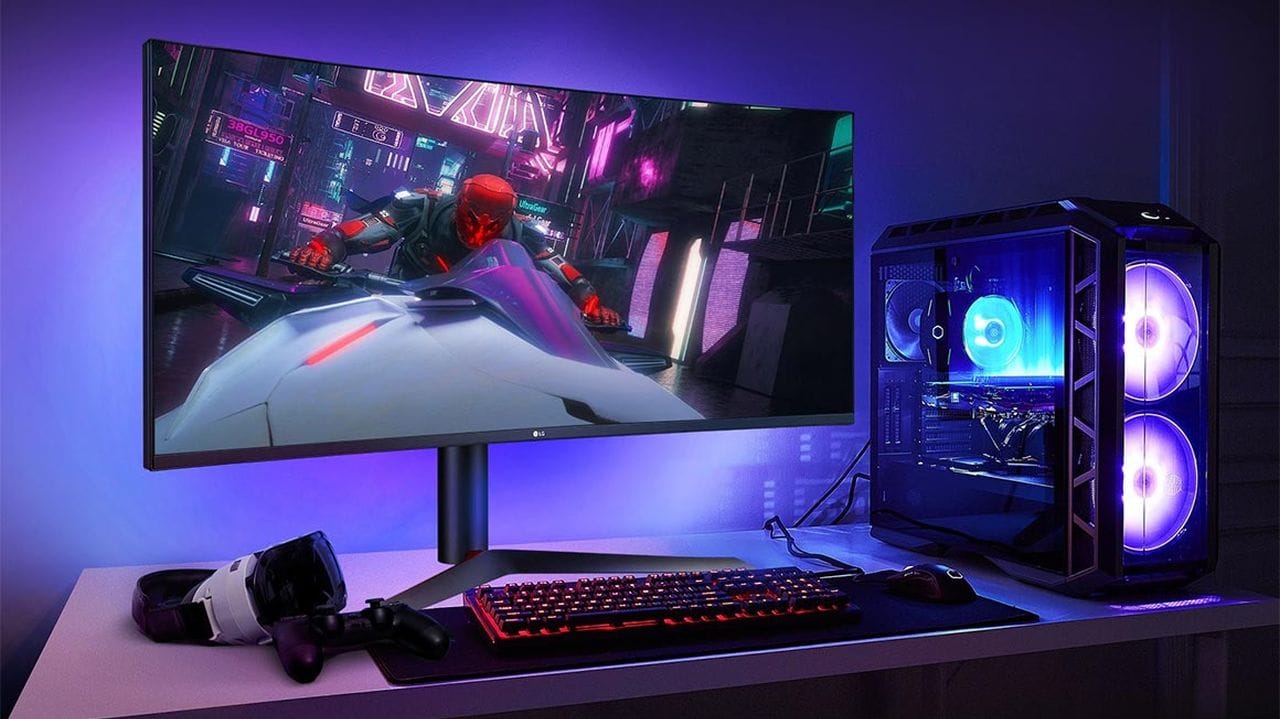
How to Build a Budget Gaming PC
While it may seem daunting, building a computer is actually much easier than one may initially think. This guide will outline the basic steps for building a budget gaming PC and suggest cost-effective parts you should consider while optimizing your investment.
Plan Your PC Build
Before even clicking on the ‘Proceed to Checkout’ button, avid PC gamers should evaluate their needs and expectations before buying the components for their computer. This is because each PC build requires different amounts of resources to contribute to varying degrees of performance capabilities. Planning out one’s budget and performance specs ahead of time will help a buyer determine the optimal, cost-effective solution that satisfies their gaming PC demands. The information gathered from this step will help inform the decisions that are made throughout the rest of the guide.

Prep Your Tools and Workspace
This is often one of the most overlooked steps when it comes to building a budget gaming PC. In order to maximize the quality of performance of your equipment, a builder should first find a clean and stable workspace to assemble the components. Dust and dirt can negatively impact the longevity and quality of your machine if not removed; so a clean work environment is the best way to avoid a build-up of foreign materials in your PC.
Pro Tip:A large workspace, such as a table, can help reduce the chance of electrostatic discharge caused by carpets and other materials that are prone to static electricity. This type of discharge can damage electrically sensitive components like graphics cards and motherboards, sometimes leaving them inoperable. Standing on an uncarpeted surface can assist with this issue.

Selecting Your PC Case
There are three basic sizes that apply to the majority of gaming PC cases available: mini-tower, mid-tower, and full-tower. It is important to note that these sizes are not standardized across manufacturers and that they are determined by motherboard size.
Common Mistake:Buying a case that doesn’t fit the motherboard. Always choose the motherboard, graphics card, and associative components you are going to use prior to purchasing the case. This will help you determine which case size is appropriate and also which location is sufficient for your desktop.
Similarly, if you are to invest in something like a tempered glass side panel, make sure that the PC is situated in a location where it can be properly displayed. Investments like this can be frivolous if it is going to sit under your desk next to a wall.
Review Your Build Prior to Purchase
While this isn’t a traditional step, it can save you a lot of time and money when executed correctly. Creating a budget gaming PC build list is imperative when determining the compatibility of your mechanical components. If certain components don’t work with your desired motherboard, it is crucial that you recognize this ahead of time before you purchase and deliver your components. If you don’t, this could cost you hundreds of dollars in reorders and delivery fees, on top of the time spent waiting for new parts to arrive.
Pro Tip:Review the recommended system requirements for games you are interested in playing before you decide on your final budget gaming PC build. If you invest in PC components that aren’t powerful enough to run your game of choice, then your whole investment has been for naught. Always check the recommended specs during this step.
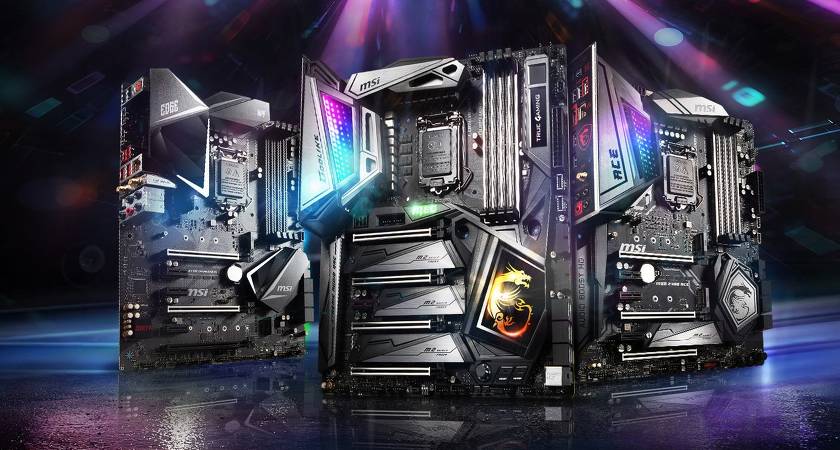
Mount the Motherboard
Before installation, first check to see whether your motherboard came with an unattached I/O shield. If this is the case, snap this into the back of your case before proceeding. If all the cables are in place and threaded correctly, align and attach the motherboard using the Phillips #2 screwdriver and the provided screws. Once complete, connect the PSU to the motherboard.
Install CPU
WARNING:Avoid having your fingers come in contact with the surfaces of any of the components. Oil and dirt from your hands can damage the pins and threaten the CPU’s performance. Hold each PC part, especially the CPU, by its edges. Do not touch the bottom or top of the chip. Gloves are recommended.
First, remove the motherboard from its antistatic packaging and place it gently on your flat, uncharged work surface. Then locate the CPU socket on the motherboard, the small section covered by a protective lid.
Before opening the CPU package, remove the protective plastic cap on the CPU socket. Then take note of two things: the socket arrow and the socket lever. Once identified, open the socket tray by carefully pressing down on the lever and pulling it away from the socket itself. After removing the CPU from its own packaging, place the chip in the socket with the arrow from the CPU aligning with the arrow from the tray.
Install the m.2 SSD Solid State Drive (Optional)
Simply locate the SSD slot (a chip-size cartridge enclosed with a single screw), remove the screw, slide the SSD into place, and then close the lid and reattach the screw.
Note:The SSD will stand off of the motherboard at an acute angle when fully seated, i.e., put into place. To finish the installation, simply press the SSD into the motherboard and close the lid.

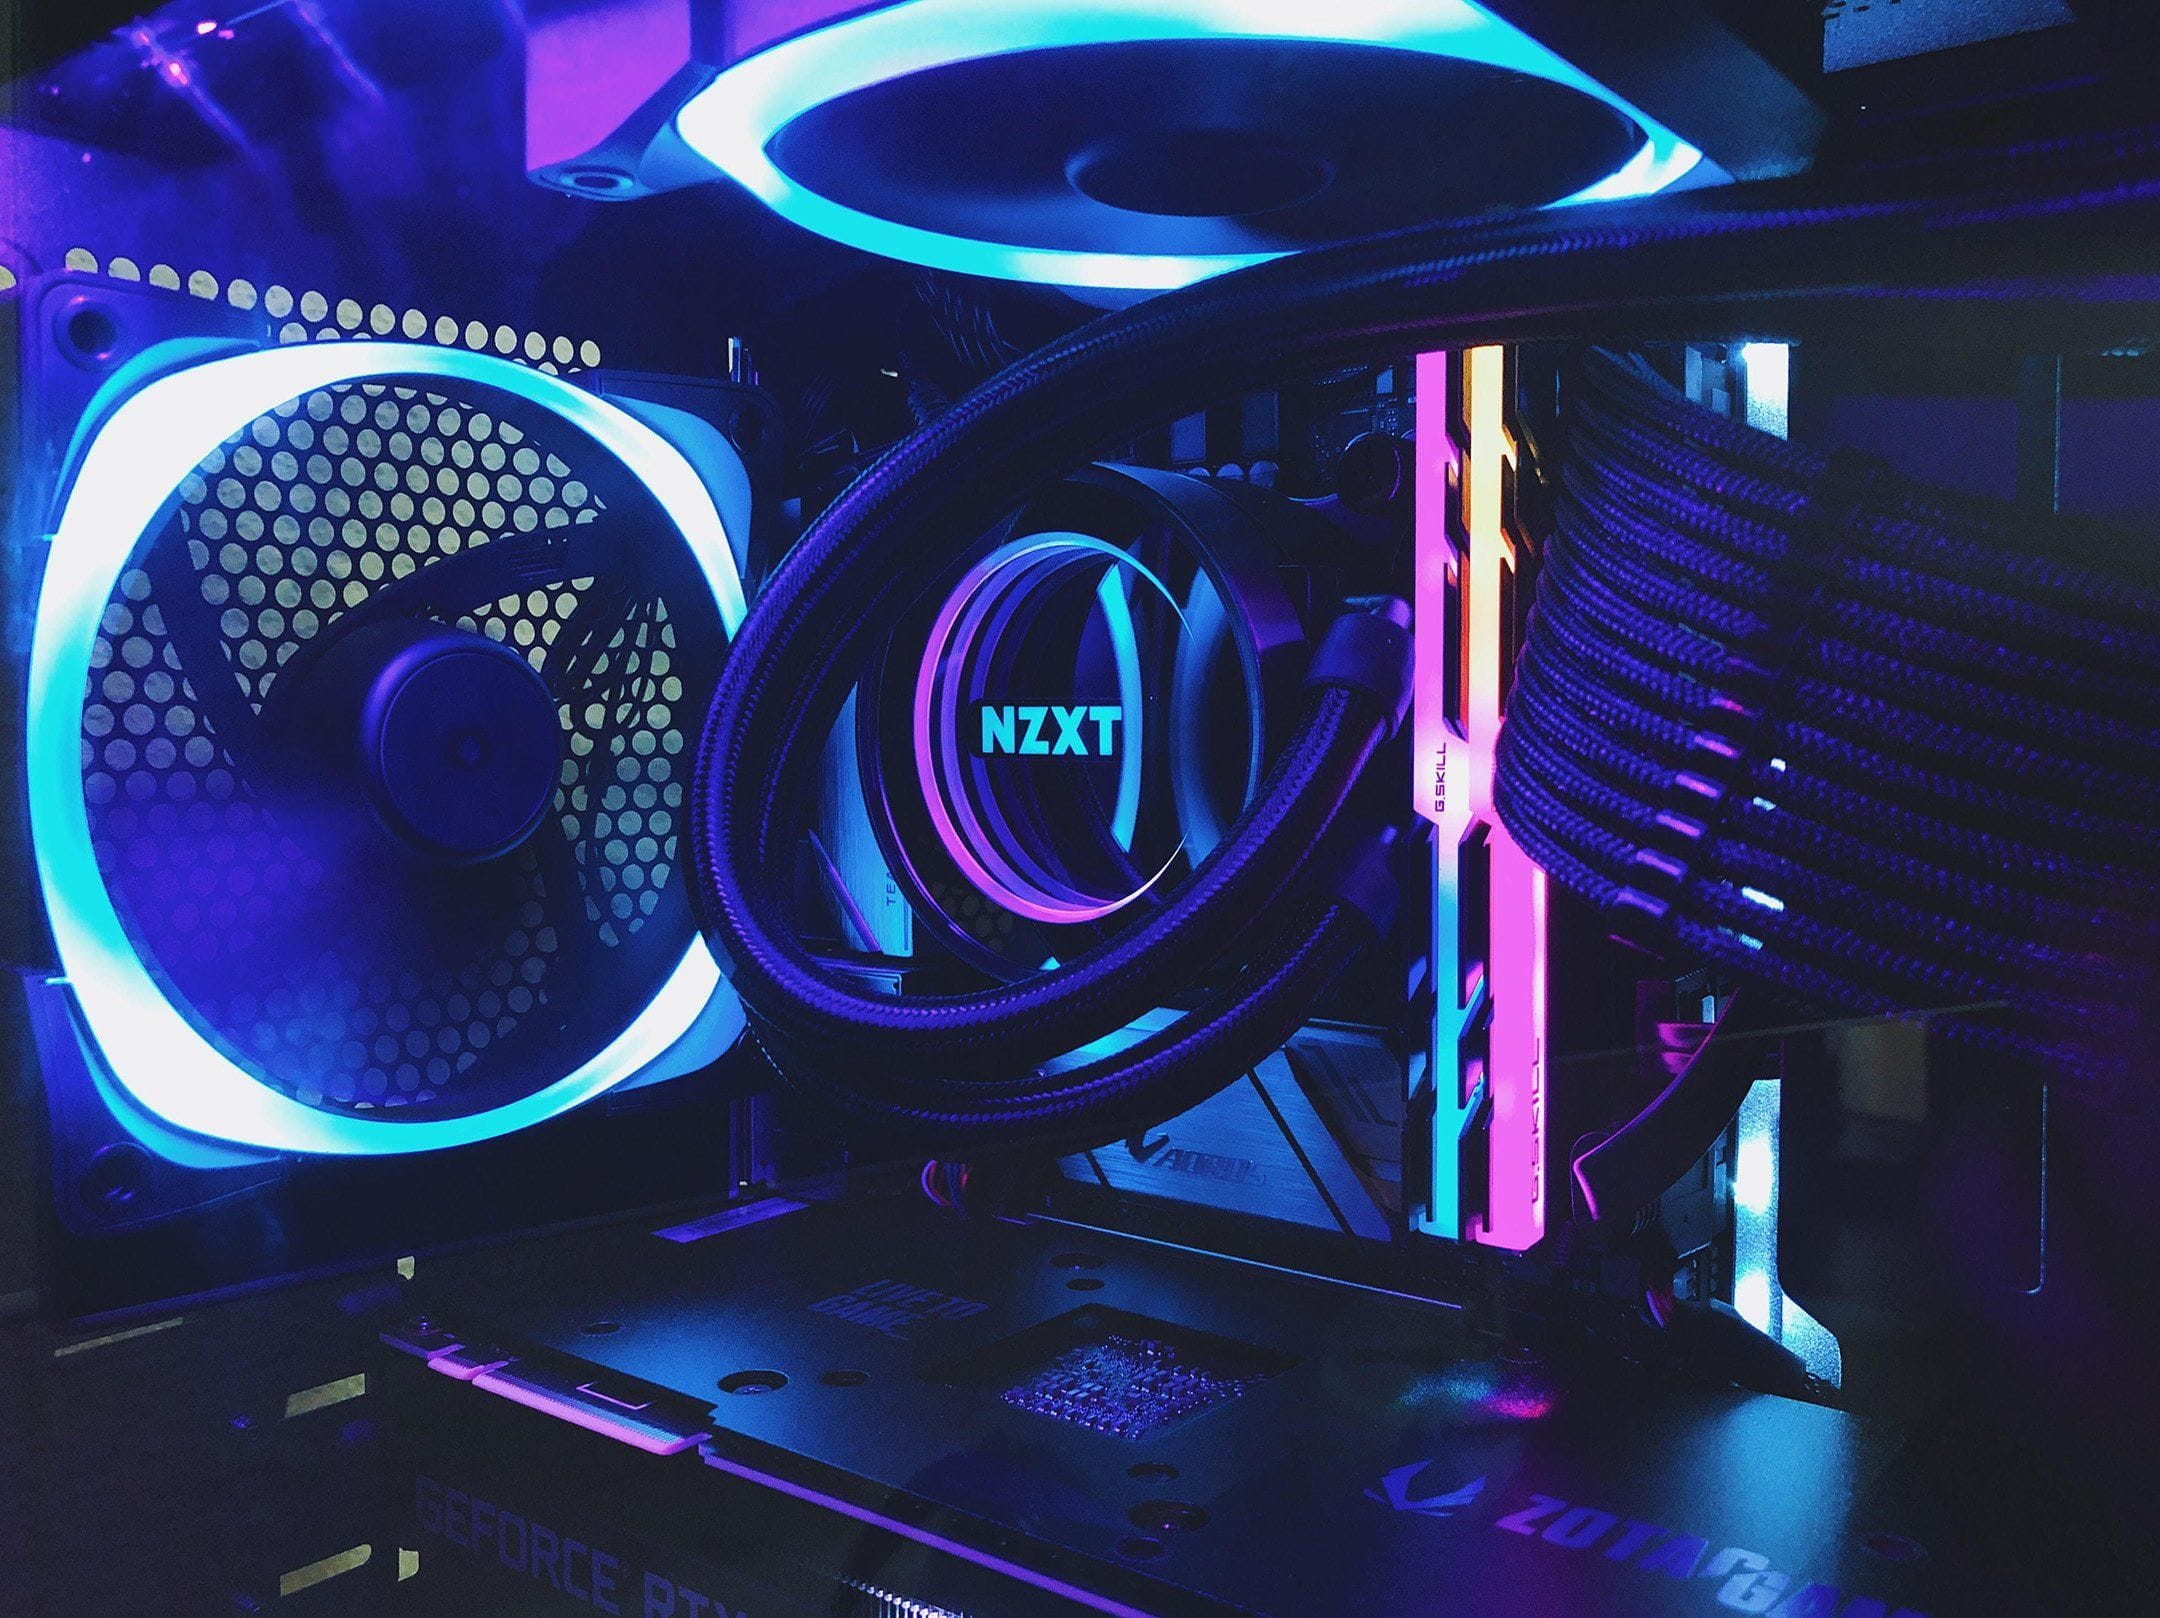
Install the CPU Cooling Unit
This is a relatively uncomplicated step. Due to the variety of CPUs and their coolers, it is best to consult the CPU user manual throughout this process. Some coolers will require a mounting bracket to be installed, others will not, and some motherboards may even come with a mounting bracket themselves.
Moreover, some CPU coolers may not have pre-applied thermal paste. If this is the case, squeeze a rice-sized dot of thermal paste onto the middle of the CPU and then rest the cooler on top. The pressure should sufficiently spread the paste.
Note:Most modern CPUs come with stock coolers from the manufacturer which, in most cases, are perfectly serviceable. For maximum performance, however, it is recommended to look into aftermarket coolers that can keep you CPU temperatures at optimally low levels – so as to avoid overclocking.
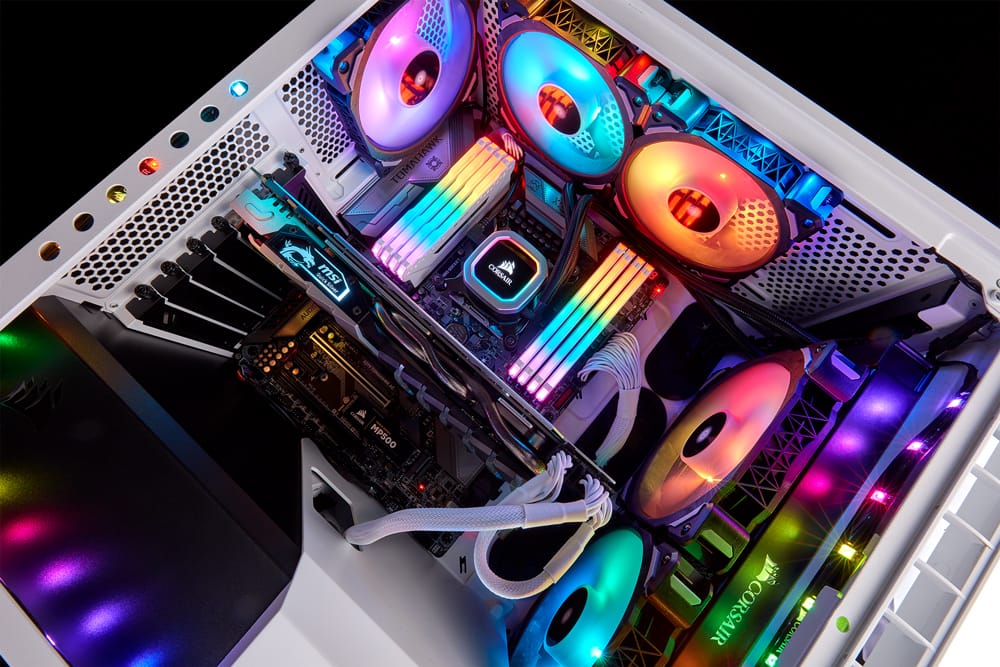
Install the RAM
Installing RAM only requires snapping the chips into the correct RAM slots. Most motherboards will come with either two or four RAM slots. If not all of the slots are being filled, you should consult the motherboard’s user manual for additional information, because some motherboards perform better if the RAM is installed in specific slots.
Pro Tip:Because each motherboard is different, its user manual should be referenced during every step in order to avoid any installation mistakes.

Attach the Power Supply
The location of the power supply unit (PSU) strictly depends on the design of your gaming PC case and whether or not it has a fan. Ideally, you want to mount the PSU so that its own fan faces away from the PC case. Once you have located a suitable vent to mount the PSU to, simply attach the PSU using the supplied screws.
Note:Higher end systems will require a greater source of power in order to run at optimal performance. It is recommended that you refer to the power supply requirements for all of your gaming PC’s components.
Install the GPU
Using your motherboard user manual, locate the designated PCIex16 slot on your motherboard. If there are multiple PCIex16 slots, the manual should inform you as to which should be prioritized. Typically, this is the longest PCIe slot on the motherboard.
Once you have located the appropriate slot, you can remove the GPU from its antistatic packaging, align it with the slot and the designated rear retention bracket, and then carefully push it into the PCIex16 slot. Most graphics cards, excluding the GT 1030, will also need to be connected to the power supply via connecting cables. This provides the GPU with additional power beyond what the motherboard is capable of delivering on its own. Don’t forget to secure the GPU to the back of the case with screws once it has been seated. Any auxiliary power connectors should be attached to the PSU during this stage.

Install the Storage and Operating System
First, locate the SATA port on the motherboard. Before installing any of your drives, check to see whether your drive bays are tool-free or not. Bays that are tool-free will only require the movement of a lever or switch to unlock a tray. If you are using a 2.5-inch drive bay, remove the mounting bracket. Once unlocked, pull out the tray and place the drive inside. Cases may also offer larger bays for larger drives, but installation will vary based on your storage device and your PC case. If your case does not have tool-free bays, you will have to slide your 2.5 SSD drives between the large metal bracket and the side of the case. Once in place, you must secure it with screws and then connect it to the required ports via SATA cables. This typically involves two main connections; one to the SATA port in the motherboard and the other to the SATA port in the power supply.
Note:Some 3.5-inch trays can accept 2.5-inch drives, but not the other way around. If you are fitting a 2.5-inch drive into the larger tray, make sure to use additional screws to secure it. Whenever in doubt, reference the available user manuals.
As for the Operating System, first load up your desired OS onto a USB flash drive. Then connect a mouse, keyboard, and monitor before turning on your computer. The screen will then prompt you to open the BIOS screen. Once opened, check to make sure all your PC components are operating correctly. If everything is working, reorganize the boot order to be the flash drive first and your OS location second. For users using their SSD as a boot drive, this is where you should install your OS.
 BBB ACCREDITED
Satisfaction, guaranteed
BBB ACCREDITED
Satisfaction, guaranteed
 FLEXIBLE TERMS
Pay monthly, or twice per month
FLEXIBLE TERMS
Pay monthly, or twice per month